Take Great Home Photos the Easy Way — 5 Tips From a Pro
Along with the tips, you'll find examples that offer inspiration for your own home photos.
|
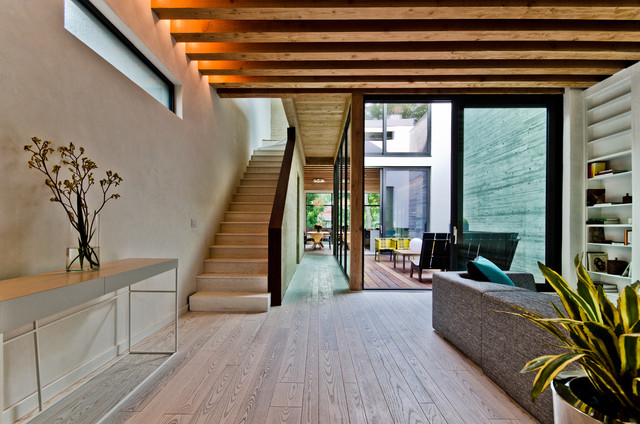
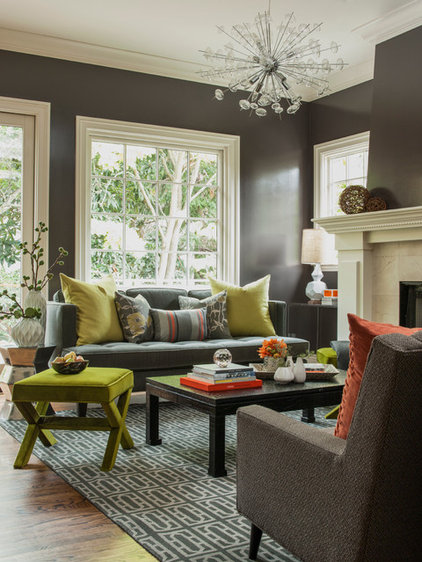
1. Use a tripod. Putting
whatever camera you have on a tripod allows you to steady the camera and
be more deliberate in making your composition. With a digital camera,
you can take a quick test shot and review it to make adjustments for the
final shot. First, adjust the overall composition and what is in the
frame by moving the camera or changing the lens — it really helps if
your camera is on a tripod. Make the next adjustments by changing or
moving the furnishings and objects in the room so they are most pleasing
in the photo.
|
|
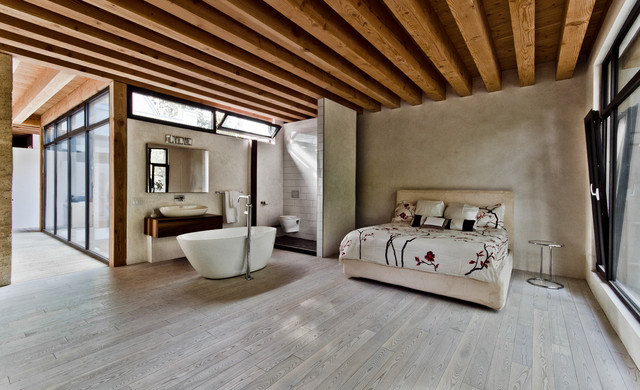
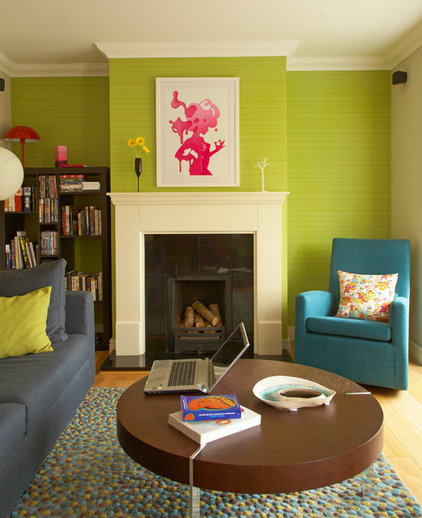
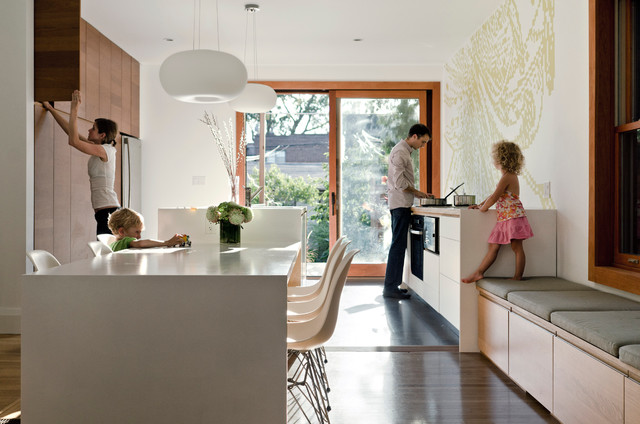
2. Take low shots. One
really important compositional consideration is how high the camera is
off the ground. I like to shoot with my camera about 40 inches off the
floor. When your camera sits lower than eye level, your photos will look
more like those you see in magazines.
|
|
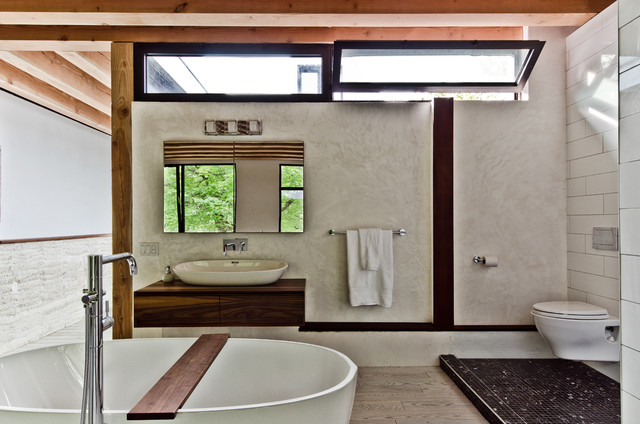
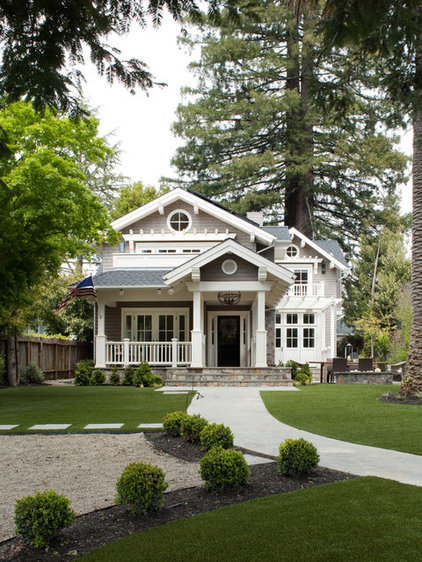
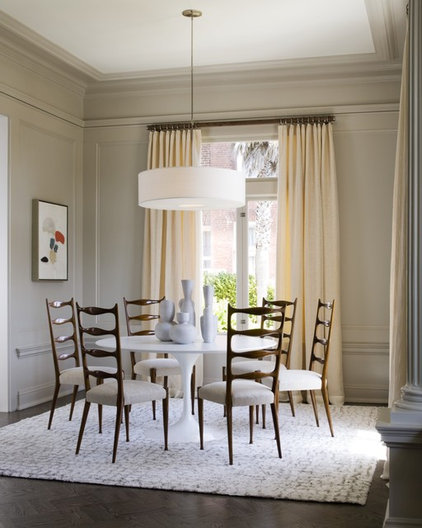
3. Shoot straight on. Try
to set your camera straight and not tilt it up or down. When you tilt
the camera, the vertical lines in the photo get distorted, which won't
look professional. For a strong composition, shoot straight onto an
elevation of a room or building. To do this, you want the camera sensor
to be parallel to your subject. The result is often a more pleasing
photo that has a nice, graphic feeling.
|
|
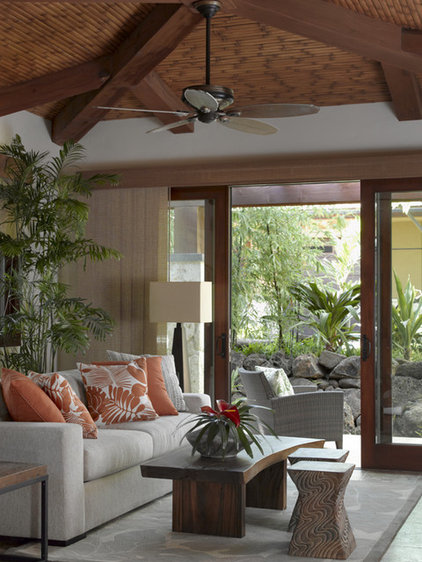
5. Turn off your flash. Even
basic point-and-shoot cameras are getting better at low-light
situations, and your camera's flash will never be able to light a room
well. With your camera on a steady tripod, you can have a long exposure
and a natural-light feeling to the photo without getting a blurry shot.
If you do not want the photo to be blurry during the long exposure, put
the self-timer on and let the camera settle.
|
|
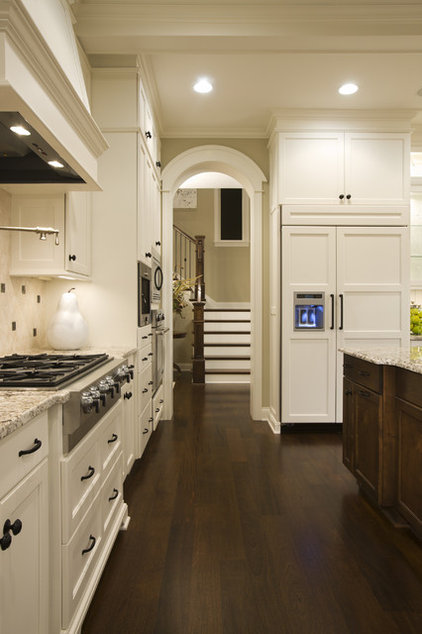
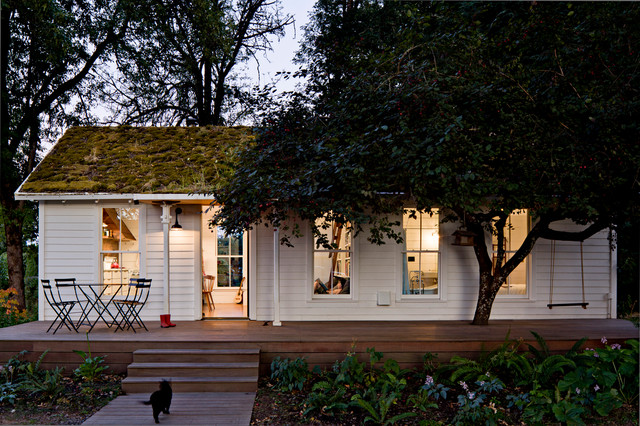
Shot straight on without a flash,
this photo feels warm and inviting. The time for this natural light is
usually about 20 minutes after the sun sets. The light level needs to be
just right — from the inside light to the last bits of daylight — to
get this glowing-lantern feeling.
|
