Raw Materials Revealed: Drywall Basics
Today you'll be hard pressed to find anyone installing a traditional plaster finish from scratch. It's much easier to put up sheet of gypsum plaster sandwiched between paper, called drywall, gypsum board, wallboard, Sheetrock (a trademarked brand) or just rock. Here's an introduction to this ubiquitous material.
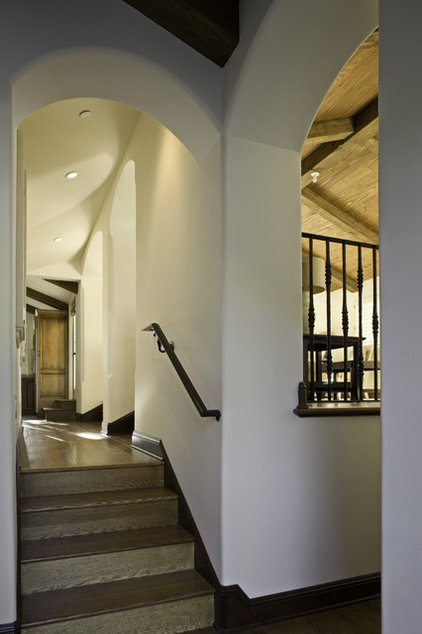
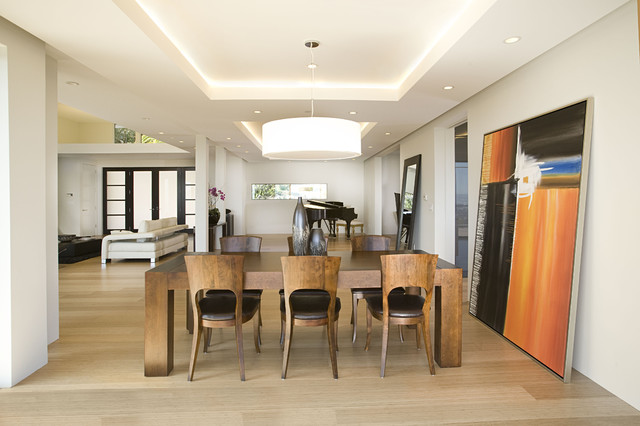
Drywall is a master of disguise. The walls in this picture look like they could be plaster. One of the visual giveaways that you're actually looking at drywall is when you see the sharp corners created by standard corner bead.
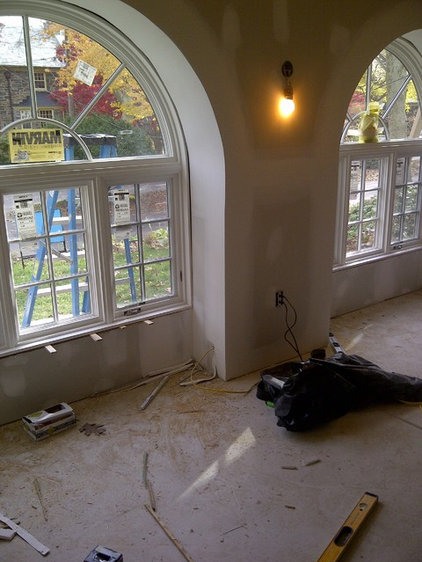
Corner bead is a metal or plastic piece that covers the outside corners of drywall to protect them from damage. Then joint compound is spread over the bead and sanded smooth.
In many traditional plaster applications, a rounded piece of wood trim was placed at the corners and then plastered over, creating a round corner. To mimic this look with drywall, look for a bullnose corner bead.
The finishing happens in several steps. First paper tape is embedded in joint compound, or "mud." Then two more coats of mud go on before sanding.
If you are looking for a plaster-like finish, you should install blue board — a drywall product made for this purpose — then skim coat the entire surace instead of just the seams. This is much faster than with traditional plaster.
Most drywall or Sheetrock you see is either 1/2 inch or 5/8 inch thick. What size to use depends on a variety of factors, including durability, location and fire safety.
The width of drywall sheets is either 48 or 54 inches. The reason for the two width sizes is that when installed horizontally, two sheets will equal either 8 or 9 feet — common ceiling heights in residential construction.
The sheet lengths vary from 8 to 16 feet. For the do-it-yourselfer, a 4- by 8-foot sheet will be difficult enough to maneuver. And don't forget that you'll need to cut holes for every outlet and light fixture box and get those all to line up, too.
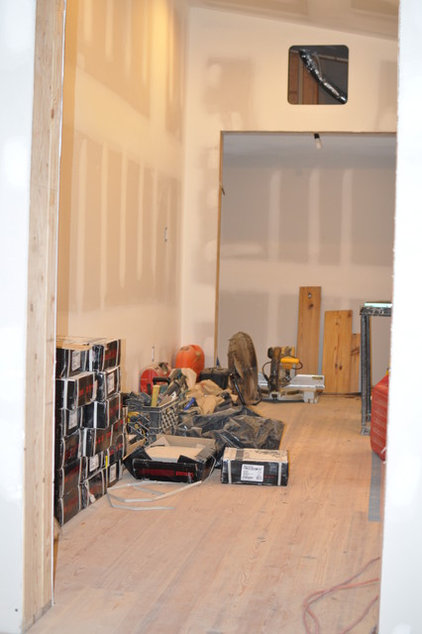
Professionals generally use the longer sheets, like the one shown in this picture, because it reduces the time spent on taping joints.
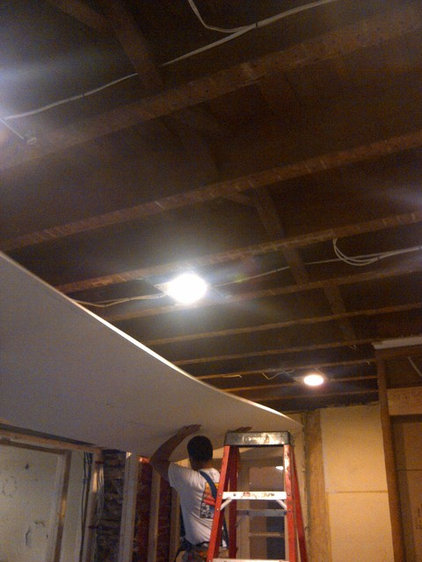
But what if you want the drywall to bend? Use 1/4-inch or 3/8-inch drywall. You may also need to make slits in the material to allow it to take the curve.
Other than regular gray drywall, you'll also see green and purple. Both of these are good for areas that will see a lot of moisture, like a bathroom. The purple is a step up in moisture protection from the green. Even with this added security, I don't recommend installing these in a shower or tub surround — you'll want to tile on cement board instead. Use green or purple board for bathroom walls outside the shower. And install a good bath fan with a timer switch so that you're not testing the capability of the drywall.
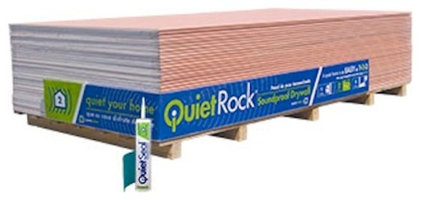
Other types of drywall you'll see are type X for added fire protection and QuietRock (shown), which is two pieces of gypsum laminated together with a special glue that allows the assembly to absorb sound and make your living space quieter. The drywall is installed with the same special glue at the seams, and a putty-like material is placed around outlet boxes. If installed properly, it is quite effective — but that doesn't come cheap.
If you're looking for a lighter sheet of rock, try USG's new lightweight drywall. Better yet, DIYers should rent a drywall lift for ceilings. It's worth the added expense.
|
We've only scratched the surface of
what can be done with drywall. Although drywall is easier to install
than plaster, it takes time to master the skill. Look for opportunities
to practice, like in a garage, before you try your skills on the living
room.
Have fun, wear a mask when you sand, and rock on! |
