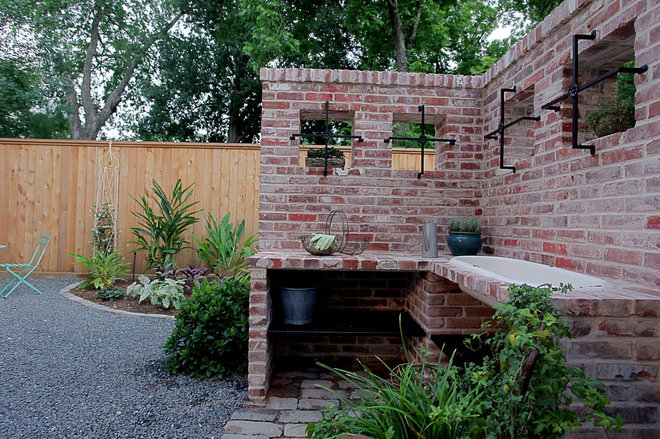
What to Know About Adding an Outdoor Sink
Sound like something you could put to use? Here’s what to know about adding an outdoor sink to your home, whether you do it yourself or hire a professional.
Cost: Expect to pay about $150 to add a drop-in sink to an existing potting station. You can spend $1,000 and more for high-end freestanding outdoor sink units and large custom designs.
The cost depends on the type of outdoor sink, whether you install it yourself or hire a plumber or handyperson, and whether you need to run a new water line to reach the sink. (This will increase costs considerably.)
Before choosing your outdoor sink, you’ll need to determine where it will go and the water source you’ll use. Budget can play an important role in making these selections.
1. Identify the water source. Outdoor sinks can connect to your home’s water lines or to an outdoor spigot. If water lines and pipes don’t already reach your desired outdoor sink location, it’s best to hire a plumber to extend them. You also can choose an outdoor sink design that connects to a garden hose spigot.
2. Decide on drainage. Outdoor sinks can drain a few different ways: into a home’s plumbing system, into a bucket below the sink or through a hose that drains into the landscape. In general, outdoor work sinks that drain into a home’s plumbing system are the most multifunctional, as they don’t need to be emptied and don’t require that you only wash landscape-safe materials with biodegradable soaps.
If your home’s water drainage pipes aren’t located near where you’d like to install an outdoor sink, the other two drainage options can be much more cost-effective solutions.
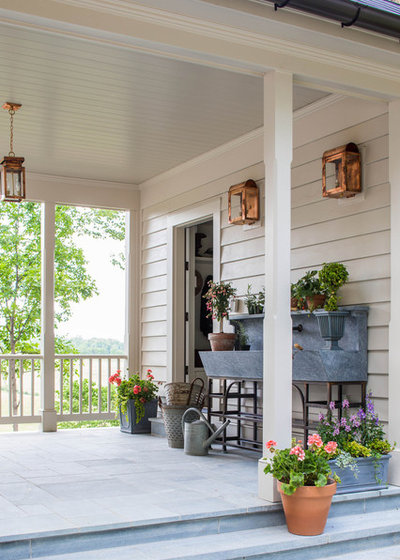
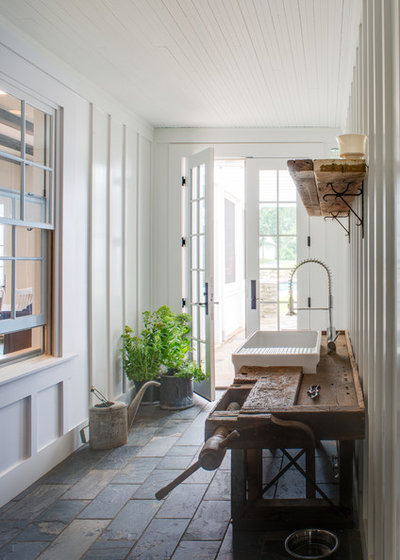
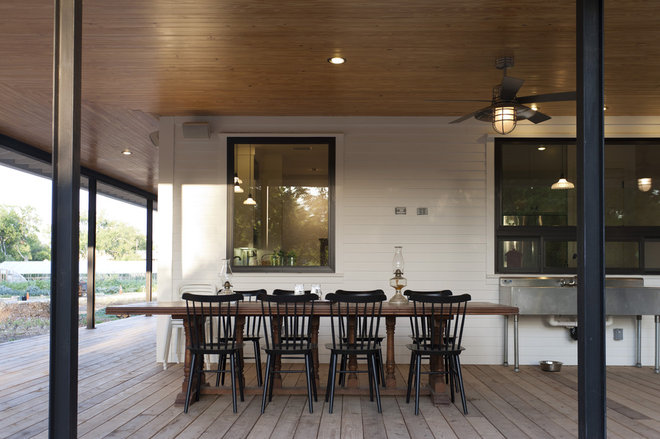
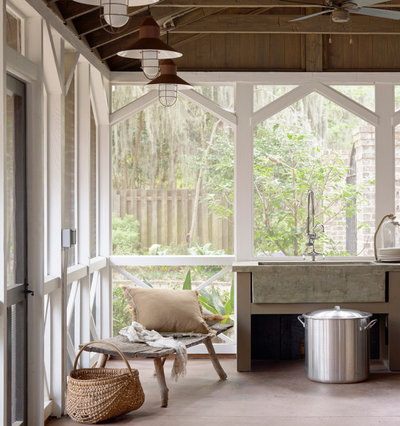
Siting an outdoor sink under a roof overhang or shade structure, where there is protection from the sun and other outdoor elements, can make the sink area much more usable. In cold-winter climates, the best spot for your outdoor sink may be in a breezeway or tucked inside the garage.
5. Determine if you need a permit. Always check with your local building and safety department before getting started. Many counties require a permit if you’re installing new plumbing or moving existing plumbing. If you’re connecting a new outdoor sink to existing plumbing (or choosing a model that drains to a bucket or into the landscape), you may not need a permit.
The sink you choose will depend on your available space, drainage plan, budget and how you’d like to use the sink. Keep in mind the following considerations.
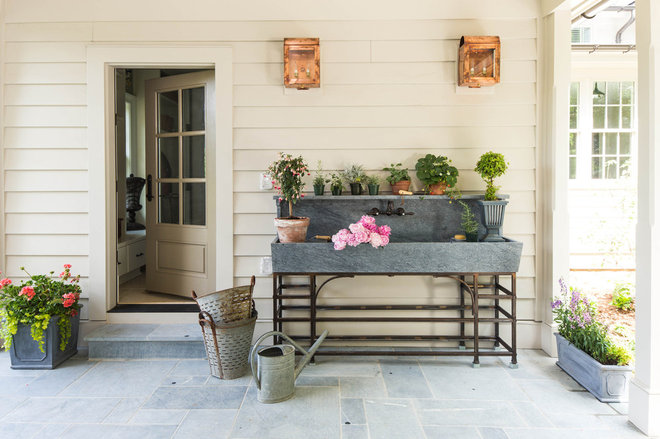
Sink material and size. Sinks come in a variety of materials, including stainless steel, ceramic, stone and concrete. How you’d like to use an outdoor work sink can help with your material choice.
- Stainless steel sinks are some of the most durable and easy to clean for the price.
- Ceramic sinks can be prone to scratching if you’re planning to clean metal tools or heavy pots.
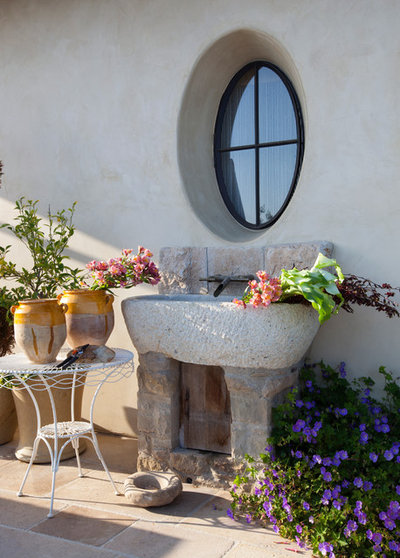
- Stone and ceramic sinks can be much pricier than stainless steel but are also durable, and a bit of scratching up can enhance their natural patina.
- You may also be able to repurpose an inexpensive sink from a salvage yard.
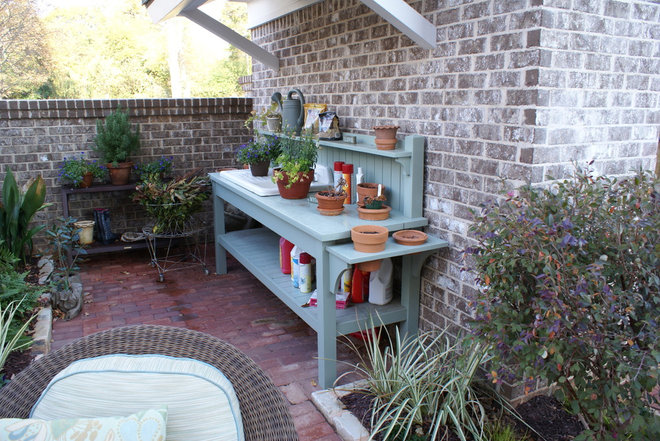
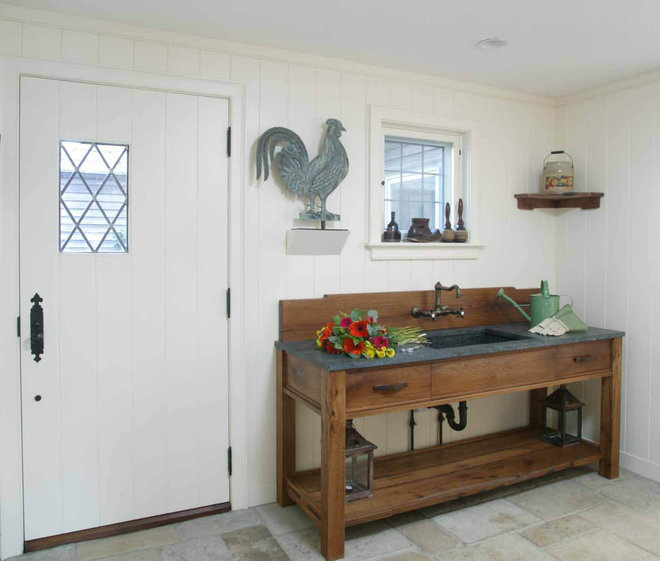
Heavy outdoor sinks made of stone or concrete will likely sit on a metal frame. Lighter stainless steel or ceramic sinks usually use a wooden frame. If it can support the weight, a wooden table can be repurposed as a frame for an outdoor sink. Cut a hole in the tabletop for the sink and then attach plumbing.
Countertop material and size. Think about how you’d like to use your outdoor sink and how much room you have for countertop space.
If you want your outdoor sink to function as a bar or place for staging projects, a larger countertop may be a priority. You may also want to prioritize an easy-to-clean countertop material or one that’s very durable, such as concrete.
Find carpenters in your area
Flooring. You may consider sealing existing flooring surfaces to improve their water resistance. If you’re choosing a new flooring material, opt for one that can be easily hosed down and cleaned or choose a material, like gravel, that quickly drains water and soil particles.
Storage. Consider how much storage space you’ll need for your sink’s intended use. Shelves under the sink can be useful for storing empty pots, fertilizers or paint cans, while shelves mounted behind or above the sink can be useful for stacking mason jars, vases or small potted herbs.
Winterizing. You will need to winterize your outdoor sink if you live somewhere with freezing winter temperatures. To do so, first shut off the water line, whether that be an outdoor hose or plumbing, leading to the outdoor sink. Drain all water by running the faucet until water stops coming out. Use an air compressor to apply a few short bursts of air to clear any remaining water. In spring, turn the water line back on, turn on the faucet and allow the water to run for a few minutes to flush the pipes before using.
An elevated tub allows you to run a hose over it or channel water from a rain barrel. Just make sure it’s in a safe place to drain if you do plan to add water.
